In this section we will look at how we can move the editor camera around the scene. Skyline has a gamer friendly camera movement and a few tools to help you traverse large worlds.
To move the editor camera you use the Following keys, these directions are all based upon the direction the camera is facing (local to the camera):
[S] - Move backwards in the Reverse camera direction.
[A] - Strafe the camera to the Left based on its forward facing direction.
[D] - Strafe the camera to the Right based on its forward facing direction.
[Q] - Move the camera downwards based on camera forward direction.
[E] - Move the camera upwards based on camera forward direction.
[SHIFT + move key] - moves the camera quicker. Release [SHIFT] to go back to default speed.
[MOUSE WHEEL] Spin forwards to move the cameras forwards, in relation to the direction the camera is facing.
[MOUSE WHEEL] Spin backwards to move the cameras backwards.
To look around we use the mouse, this is similar to the way you would look around in a First Person Shooter Game:
For example if we look slightly downwards and press the [W] key we will move towards the ground in the direction we are facing. If we look upwards this [W] forward key will move us towards the sky. So the thing to remember is that the move keys work in conjunction with the direction that the camera is facing.
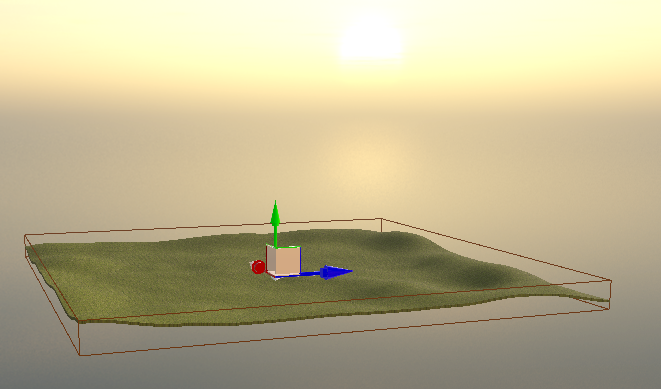
With the scene we opened on the last page of this guide, try moving the camera around to get a feel for it.
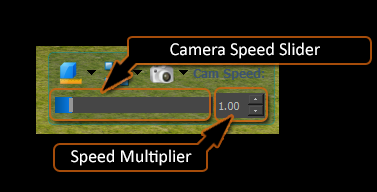
By playing with the camera you may have wanted to have more control over the speed. Well you can, if you look at the top right hand side of your scene you will notice a small toolbox. This toolbox has a few tools and one of them controls our camera move speed.
Camera bookmarks are a re-callable memory of the scene camera's location and orientation at the time of adding the bookmark.

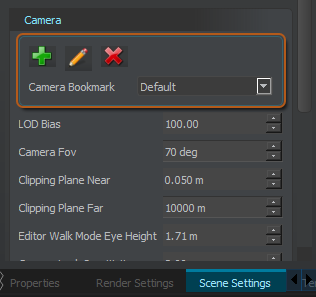
If you click on the drop down from the Camera Settings, select the item “Default”. This will load the stored camera location back to the scene camera. These bookmarks are saved with the scene.
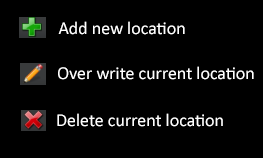
To Save a bookmark, move your camera to a new location in the scene. Now here you can overwrite the current bookmark or create a new one, for this exercise we will overwrite the Default bookmark.
Click the small “Pencil” Icon and this will same the new location. Move the camera again then select the bookmark, you should now jump back to the last location.
Not so much a navigation option but sometimes it can help to center the camera onto an object.
Use the Mouse Wheel to scroll backwards and try to position the camera so that you can see all of the ground. Click with the Left Mouse Button [LMB] on the ground and it will show as selected as in the image below.