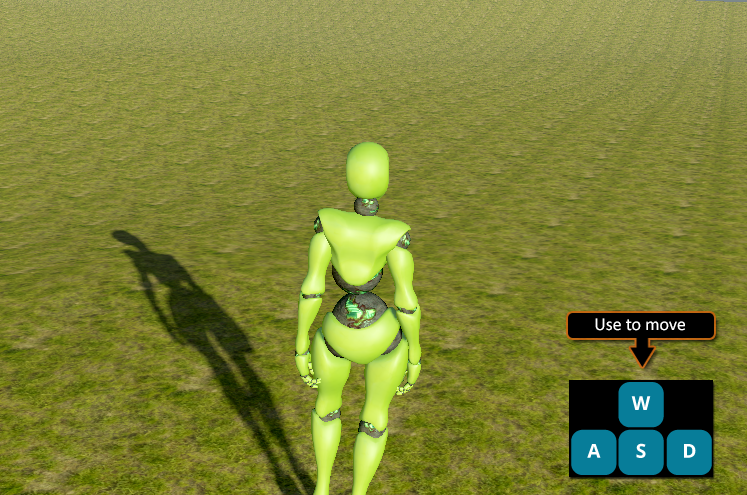
Now if we pressed the play the game button, our character will move around by using the [ W A S D ] keys but your scene camera will also move. There are a few ways around this such as setting the scene camera to static or changing the movement keys but for more fun let’s add a quick 3rd person camera!
This is really easy to do, it’s not going to give you an advanced TP camera system but will get you on your journey to creating characters.
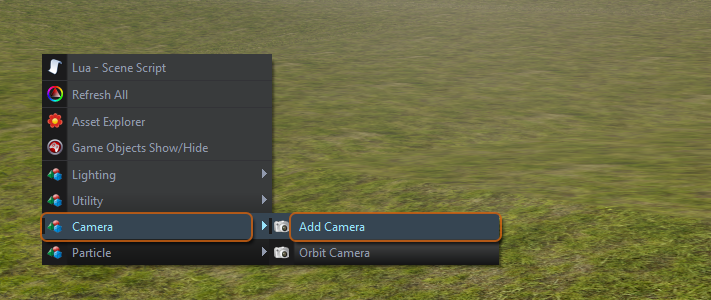
To add a camera to the scene, simply RMB anywhere in the scene view port and select > Camera>Add Camera
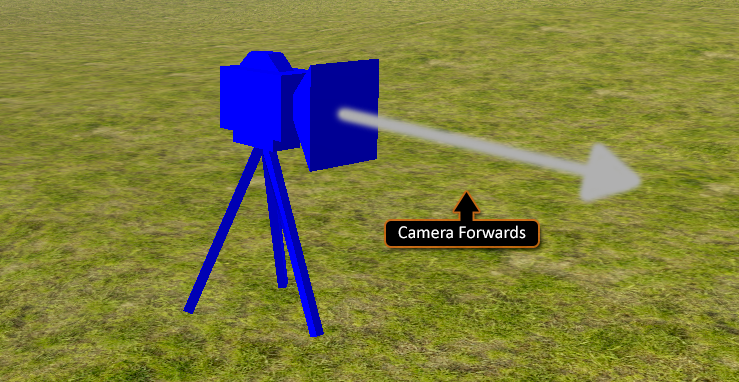
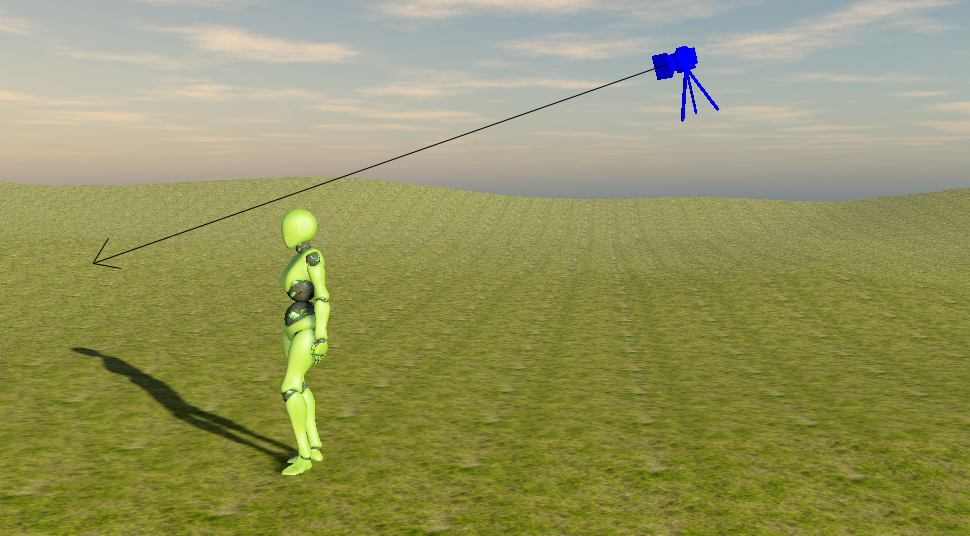
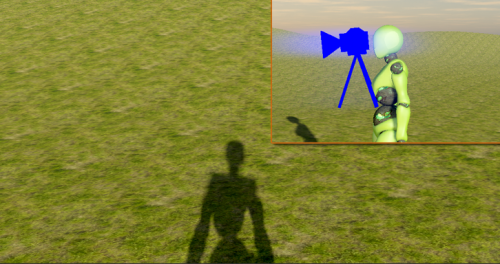
Orientate the camera so that the forward direction points towards your character; usually a little over the characters head. Move its height to the height at which you want the third person player to look from.
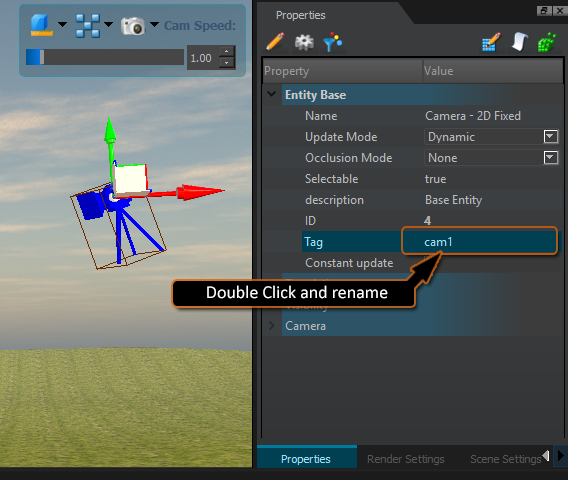
Next we need the cameras tag name, as it’s a unique identifier that no other object that lives in the scene can have. This is so that we can control it from another object, in this case our player character. Select the character and locate its base properties again, if not already open. Expand the “Entity Base” header, then find the “Tag” property and change the tag to “cam1”.
Please see the following image.
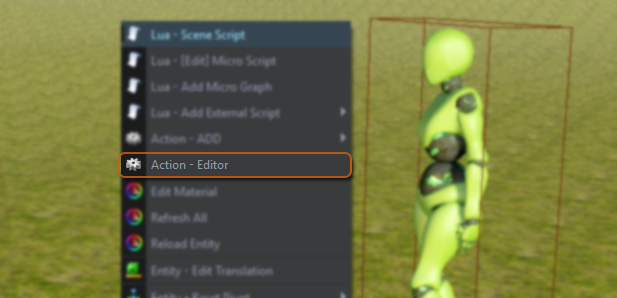
Next we need to tell the character that we want to use the camera we have just set up. To do so we must attach another action to the character entity. With the character selected “RMB > Action – Editor” and click the option, this will open the action editor ready for us to add a new action to our character.
If you are new to Skyline, the action editor is where some low level mechanic reside. These special C++ side mechanics add frame friendly functionality to an entity. The Micro Script is such an action, and yeah, I know you know that! but this for the people who just skipped ahead.
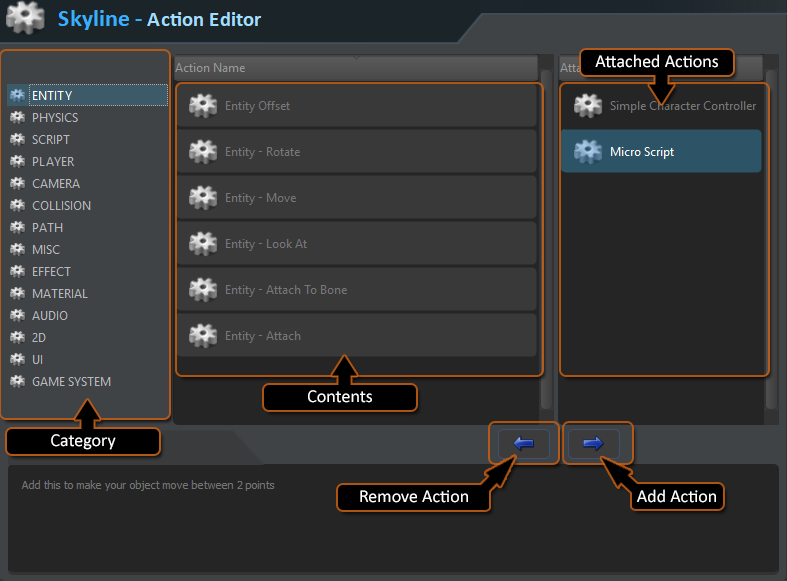
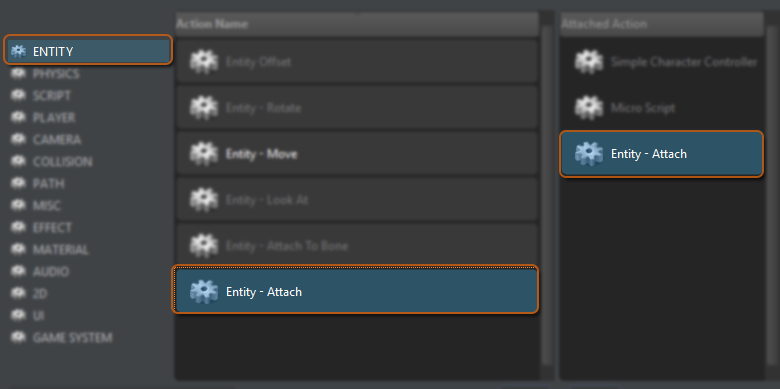
The attach action can be found in the “Entity” category. Click on the Entity category in the left hand side panel.
From the centre contents section choose the “Entity - Attach”, then you can either double click to add it or press the ”Add Action Button”.
Our character has an attach action, we need to now tell it to attach our camera we set up earlier. Select the character if not already selected and go to the property panel. You will notice that there is the new attach action property available. In the “Tag” property named ”EA Name Tag1”, enter the cameras tag name ”cam1” into the right hand value column as in the picture below.
Make a save of you scene.
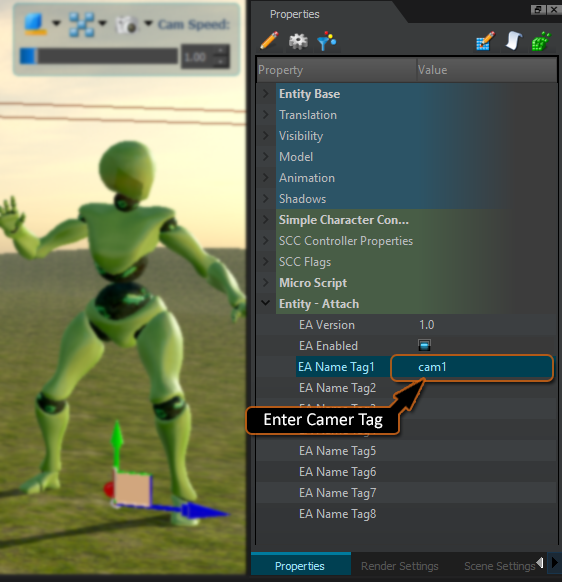
Info: All properties tend to be in a 2 column layout, property name and value.
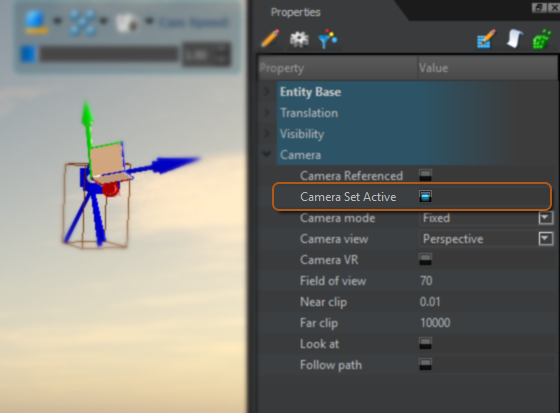
Don’t forget to activate your camera. Camera entities do not activate by default, as you can have many in the scene at any one time so that you can switch between them. You must manually activate the camera you want to use. To do so, select it and go to its entity properties in the camera section and set ”Camera Set Active” to enabled (checked) as in the image below.
Yes seriously you should really make a save to prevent any tears if it goes all pear shaped, hey its a PC, it could happen anytime!
We have finally got around to the truth of the matter, does it work? If all settings have been made correctly then when you press play you should have a character with attached third person camera.

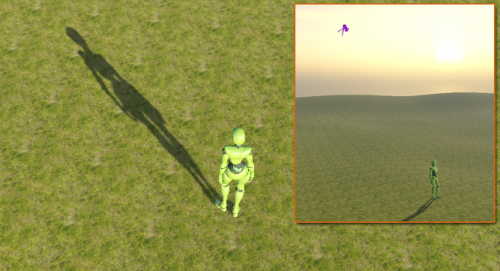
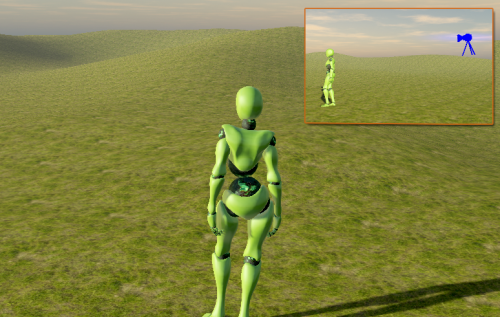
By placing the camera at different positions and rotations a variety of camera game styles can be created, such as top down, fps, or tp here are some images and camera positions as inspiration.
Hope you enjoyed this tutorial, Have Fun!